
How To Customize A Skateboard In 6 Steps

Change is the only constant thing in life. And it can be seen in daily life. For example, today, you may purchase a skateboard because it suits all your needs. However, with time, new needs arise, creating the need to enhance your skateboard, whether for style, strength, or personalization.
Usually, if the skateboard is still functional, customizing it is always better than buying another one. If you're wondering how to customize your skateboard, many websites give you the range of skateboard accessories you can use.
On that note, don’t forget to include safety equipment on your accessory purchase list - your safety must always come first. For example, you can always customize your adult skateboard helmet to match your new style!
However, today's article looks at the steps you can take to customize your skateboard. Keep reading to learn more:
1. Start By Prepping
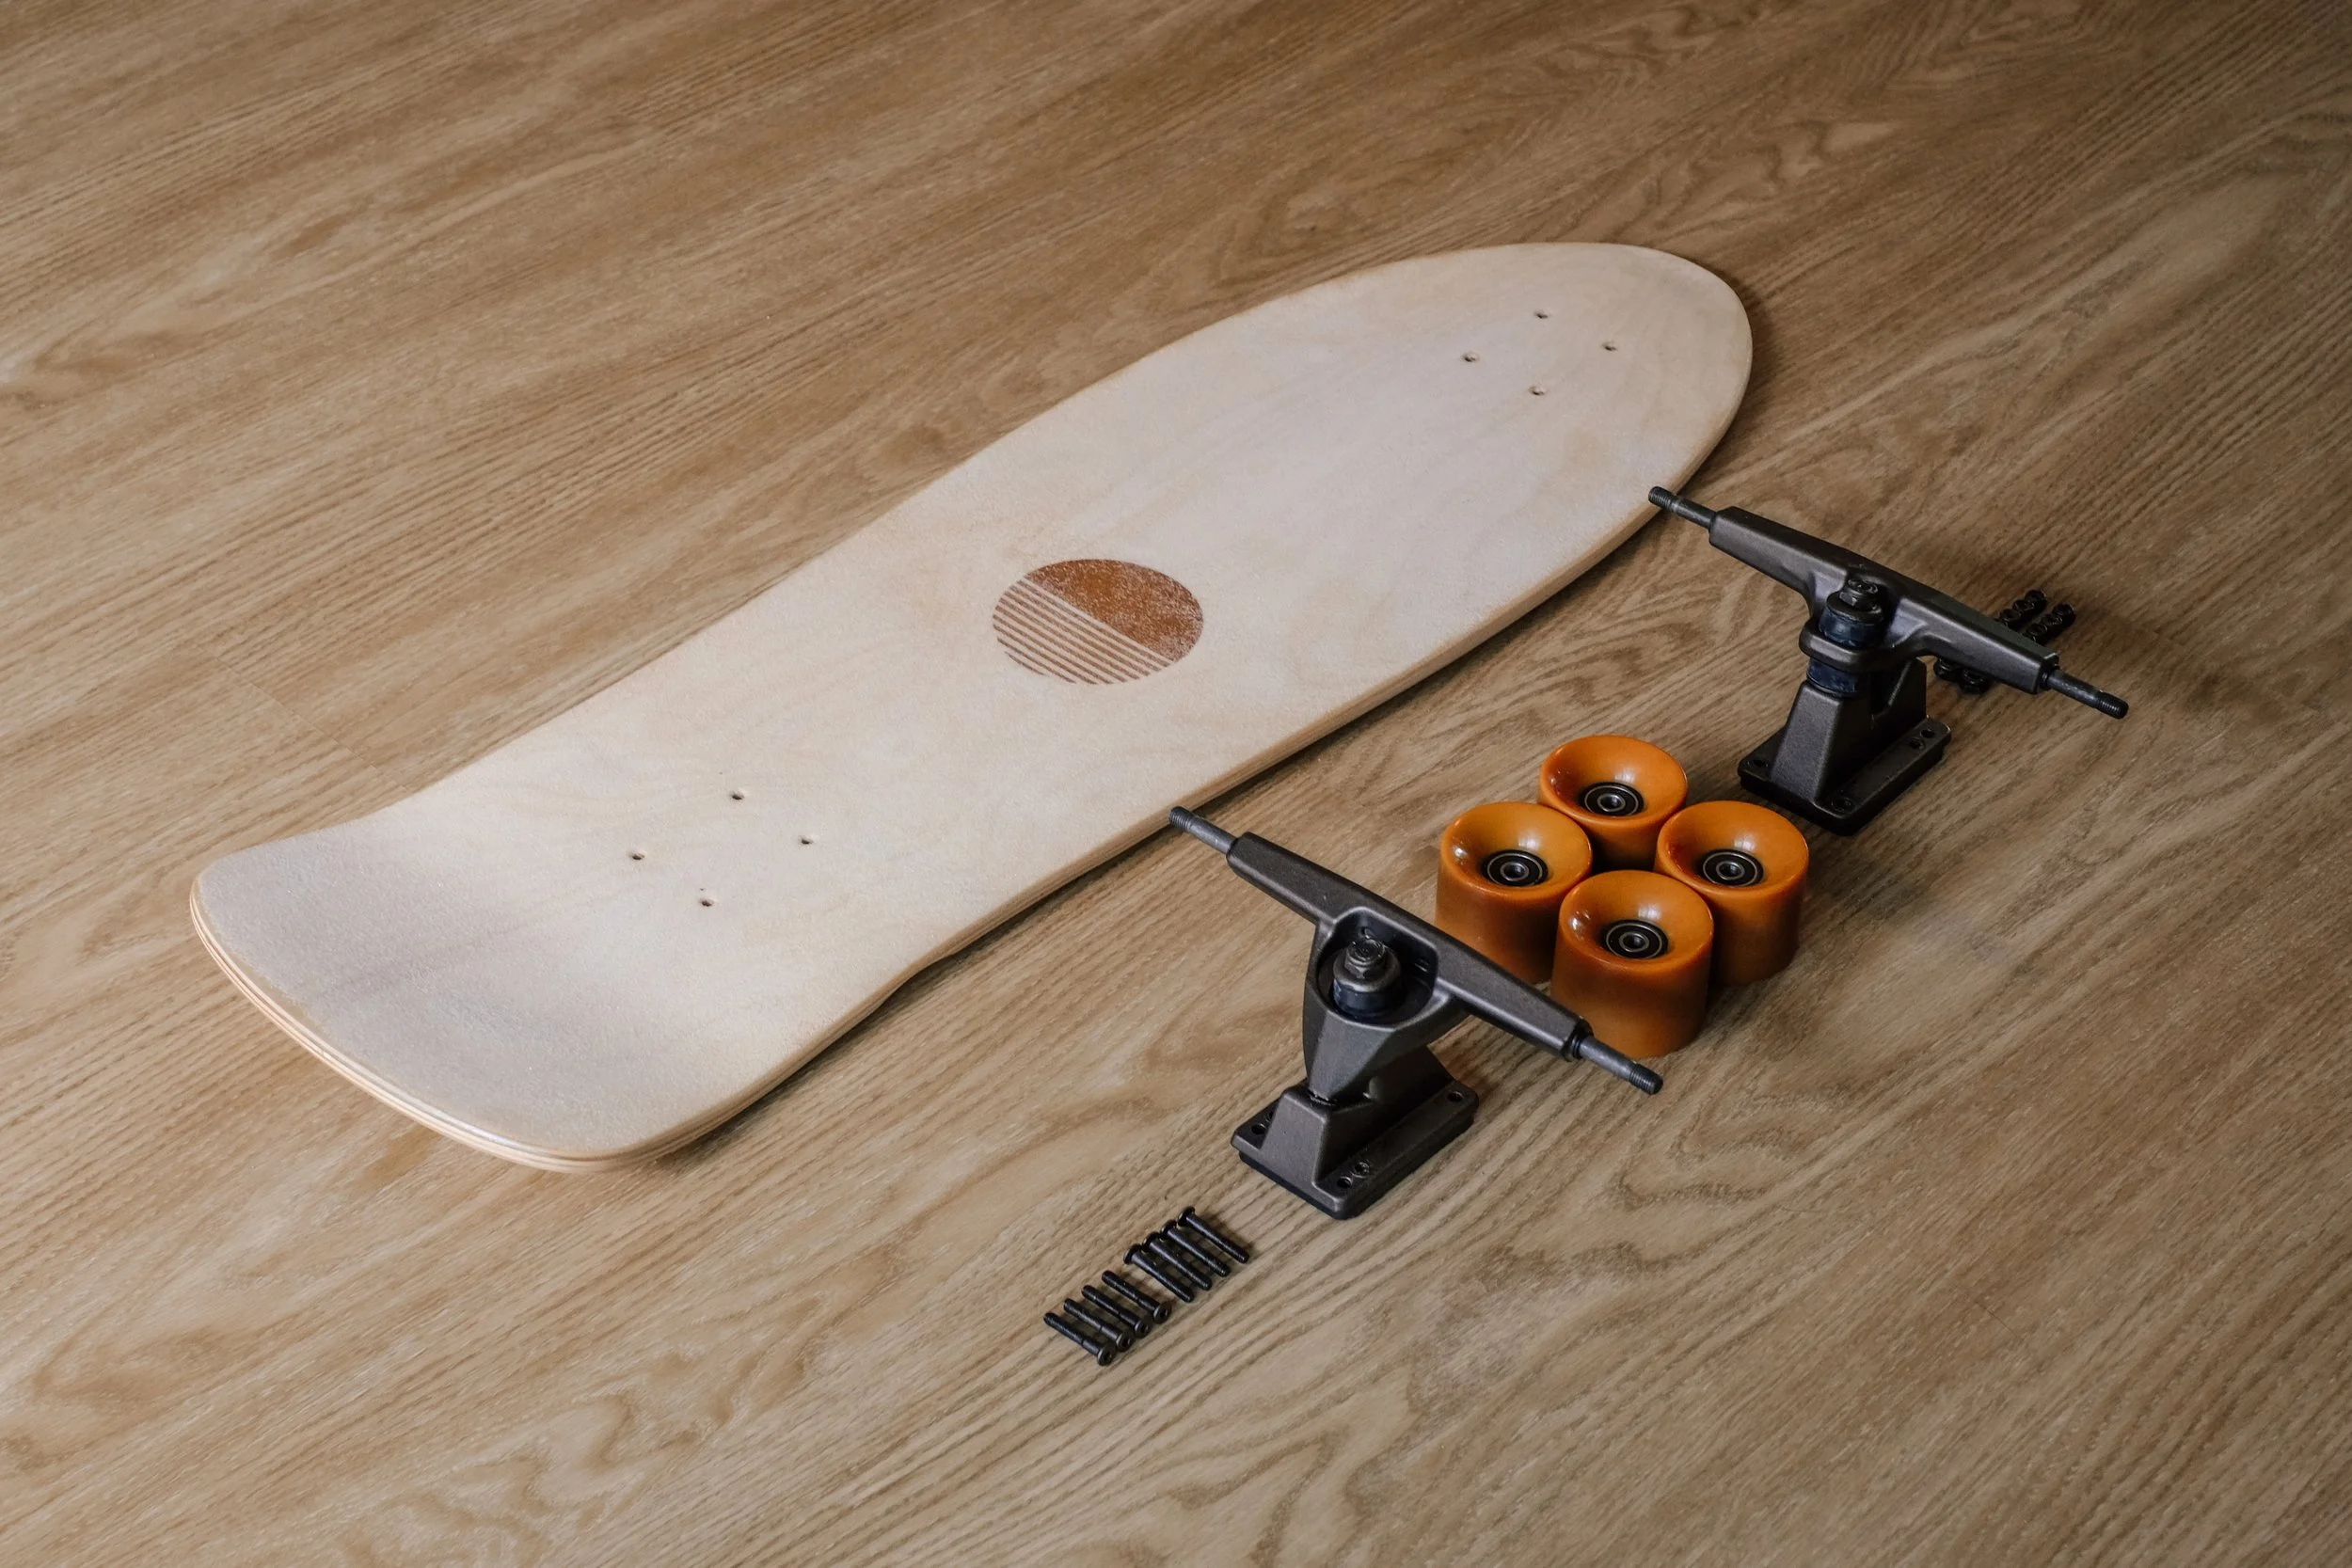
When customizing a skateboard, first arrange the materials that you'll use. You'll need a skateboard, tape, stencil, sandpaper, primer, spray paint, and a clear coat. Spread a drop cloth on your work area to collect all the dust and paint. After that, arrange your materials in the order you'll use them.
Apart from prepping your working space, you also need to prep yourself. Since skateboard customization involves painting and dusting, you need to put on the necessary gear, for example, aprons, to avoid staining your clothes with paint and a mask to avoid inhaling dusk, as well as paint fumes. Also, it's best if you work in a well-ventilated space. It's because spray paints can be toxic if they build up in the air and you end up inhaling them.
2. Remove The Wheels From The Board
To ensure that you reach every part of the board, remove any parts, like the wheels that may be a hindrance in your customization in case you'll paint. Also, you may remove the trucks so that you also paint them. To remove the wheels from the board, remove the truck bolts by using a wrench to loosen them.
3. Proceed To Sand The Board
Like painting walls, you have to remove the existing paint on the skateboard before spraying a new coat. Remove the previous paint coat by sanding. There are two ways to sand them: One, you can use sandpaper and manually use your hand to remove the current paintwork. The other option is using an electric sander.
Despite your option, you must ensure that you apply the same pressure all over the board to avoid scoring it. Moreover, uneven sanding can make it challenging to paint your board uniformly.
After you're done with sanding, clean your board using a bristle brush to get rid of any remaining sawdust. It would be best if you were careful with the brush you choose to use in this step. Some brushes, like the wire bristle, may damage your board's finishing. Moreover, be thorough when removing sawdust because clumps will form when painting if you leave any behind.
4. Prime Your Board
Before you paint anything, it's recommended you apply a base coat. Priming helps achieve a smoother and even finish. It also helps cover stains and enhances a superior hold between the top coat and the board's surface. But before you start to prime, please tape all the parts you don't want to paint, such as the holes for the truck's bolts.
When priming, apply light and even coats for uniformity. You can apply two to three layers of primer to achieve a good surface for painting.
5. Come Up With The Design
The idea of customizing a skateboard comes from the thought of it looking different from other skateboards. It helps to have a sketch of the art or personalization you want to achieve a unique look. Draw the shape of your board's deck on paper and sketch the design you want inside.
Next, you need to label which colors will be painted on which parts. Now that you have the design, you can use materials such as mylar, cardboard, and rigid card stock to create a stencil.
On the other hand, to avoid all this work, you can purchase a stencil with a design you like and use it when painting.
6. Start painting
Painting is done in various sections. First, paint your board using a color that you'd want to be the background. This color becomes the base. In this step, you should consider spraying a high-contrast color, like white, to make your design colors stand out.
Once your base color is dry, attach your stencil and spray the gaps with the colors of your choice. While doing so, ensure you follow the instructions on the spray paint can to avoid misusing the spray. After spraying, give your board some time for the paint to dry before removing the stencil. Also, you can remove the tapes you used to cover the parts you didn't want to paint.
Finally, to achieve a glossy look, add clear coats. You can apply two to three layers of the clear coat to achieve a nice finish.
After everything has fully dried, you can now attach your ducks back to the board, and your skateboard will be ready for use.
Summing It Up!
The desire to change how something looks is normal. One of the things you may want to customize is a skateboard. Often people customize their skateboards to look more stylish or boost their strength. Customizing a skateboard isn't very challenging if you have steps to guide you. If you plan to customize a skateboard, consider using this article as a guide.
Sources
https://www.wikihow.com/Paint-Your-Skateboard
https://www.instructables.com/Painting-Your-Skateboard-101/
http://www.gnarlygirls.com/blog/2020/5/9/how-to-paint-your-skateboard-deck
https://www.instructables.com/Customize-Your-Skateboard-Deck/
https://skatingplay.com/how-to-paint-a-skateboard-deck/