
How To Properly Warm Up Your Child’s Throwing Arm For A Game Or Practice To Prevent Injury And Enhance Performance
In a previous article titled, “Preparing Your Child’s Arm for the Upcoming Baseball or Softball Season”, preseason conditioning guidelines were presented on how to prepare your child’s arm for his or her upcoming season. Information was presented to help parents know how to sequentially train their children in strengthening their scapular stabilizing muscles and shoulder joint rotator cuff muscles. Both these muscle groups need to be properly conditioned to avoid injury when forceful throwing begins at spring practice. These are guidelines every thrower should incorporate heading into their upcoming baseball or softball season.
The focus of this article is to present proper arm warmup exercises to help ensure that your child’s arm is physiologically ready to throw or pitch when the umpire yells, “play ball”! If coaches fail to allow their players sufficient time to properly warm their arms prior to the hard throwing actions of a practice or baseball/softball game, they risk injuring their players arms. Unfortunately, there are even those coaches who intentionally bypass a proper warm up in order to “not waste time and use all our time to practice.” Unfortunately, this is an all too often coaching failure that can and often does lead to sore arms and even injured arms. But we can and should help protect our kid’s arms by assuring a proper warm up prior to the rigorous arm activity of a practice or game.
Note: Baseball and softball are ballistic-style sports with most of the inherent movements starting from a relatively standstill position followed by an immediate and rapid, full force movement. These types of ballistic movements include swinging the bat, sprinting to field a hard-hit grounder, and throwing. As such, all muscles of the body need a proper warm up to be better prepared for action. However, this article will focus solely on the proper warm up of the throwing arm to help prevent muscle/tendon and ligamentous injury, and to enhance athletic performance.
A proper arm warmup should:
Begin with any light total body activity, like jogging around the inside of the ball field a couple of times or performing a few sets of calisthenics. This light activity involving the legs and arms begins warming the entire body in preparation for increased physical activity. These activities involve low intensity repeated contraction and relaxation of many major muscle groups that will generate heat internally as a byproduct of muscle contraction. Muscles that are properly warmed prior to throwing respond quicker to nerve stimulation than muscles not sufficiently warmed. This enhances the muscle’s ability to generate force more efficiently. The tissues of a warmed muscle are also more pliable and therefore more resistant to injury.
Incorporate specific exercises that generate heat by the contraction of the muscles specifically involved in the act of throwing. This targeted work of these muscles not only produces the internal muscle heat previously mentioned, but also efficiently circulates the warmed blood throughout the muscles and surrounding tissues.
Incorporate dynamic stretching activities in the warmup as they help establish the needed range of motion for throwing and avoid static stretching in the warmup as this can activate the golgi tendon organ (GTO), and contribute to muscle relaxation. Muscles preparing for the ballistic activity that occurs in baseball, need to be in a state of readiness for fast maximal contraction, not relaxation.
Include pulling exercises that stimulate the joint capsule, ligaments, and periarticular tissues as well as pushing exercises that stimulate the articular cartilage covering the articulating surfaces of the joints. Both these types of exercises help prepare the different tissues for the rigors of throwing that will follow the warmup, as well as the muscles themselves.
Specific and Sequential Exercises to Warmup the Shoulder and Elbow Muscles in Preparation to Begin Throwing
Warming up the Shoulder Joint Muscles (All movement occurring at the shoulders)
1. Small to Large Circles: with arms abducted 90°, begin by making small forward circles – progressing to larger and larger circles. Then, reverse the motion and make small backward circles – progressing to larger and larger circles. Perform 10 to 15 circles in each direction. All movements should be performed in a smooth and rhythm manner.


2. Pulling Circuit: with arms abducted 90° from your side and fingers “J” locked and a pulling force applied by both arms as if to pull them apart:
· Move arms side to side for 3 to 5 seconds, immediately followed by
· Move arms forward and backward for 3 to 5 seconds, immediately followed by
· Swimming motion arms forward for 3 to 5 seconds, immediately followed by
· Swimming motion arms backward for 3 to 5 seconds


3. Pushing Circuit: with arms abducted 90° from your side and fingers “J” locked and a pushing force applied by both arms as if to compress them together:
· Move arms side to side for 3 to 5 seconds, immediately followed by
· Move arms forward and backward for 3 to 5 seconds, immediately followed by
· Swimming motion arms forward for 3 to 5 seconds, immediately followed by
· Swimming motion arms backward for 3 to 5 seconds
NOTE: perform the same movements as shown above, but with the arms “pushing together”.

4. Repeat ALL warmup exercises 2 (Pulling Circuit) & 3 (Pushing Circuit) but with arms raised above head: Here again the fingers of both hands are “J” locked and the different exercises are preformed but with the arms held above head.

5. Wing Flaps: with arms abducted 90° from your side and fingers “J” locked, “flap the arms” up and down while applying a pulling force on the arms, as if to pull them apart.

Warming up the Elbow Joint Muscles
1. Elbow Pumps or Raise the Roof: with the throwing arm elbow pointed straight ahead, perform multiple rapid pumps or elbow extensions keeping the elbow pointed ahead during the exercises.

2. Thumbs Up & Thumbs Down: with arms held out to the side 90° and thumbs pointed straight up, bring your arms inward making a circle to where the thumbs are pointed down. Repeat this motion for about 10 reps. Then, start again from the same position, but this time with the thumbs pointing down and moving inward making a circle to where the thumbs are pointed up. Again, perform this motion for about 10 reps.

Short Toss to Long Toss
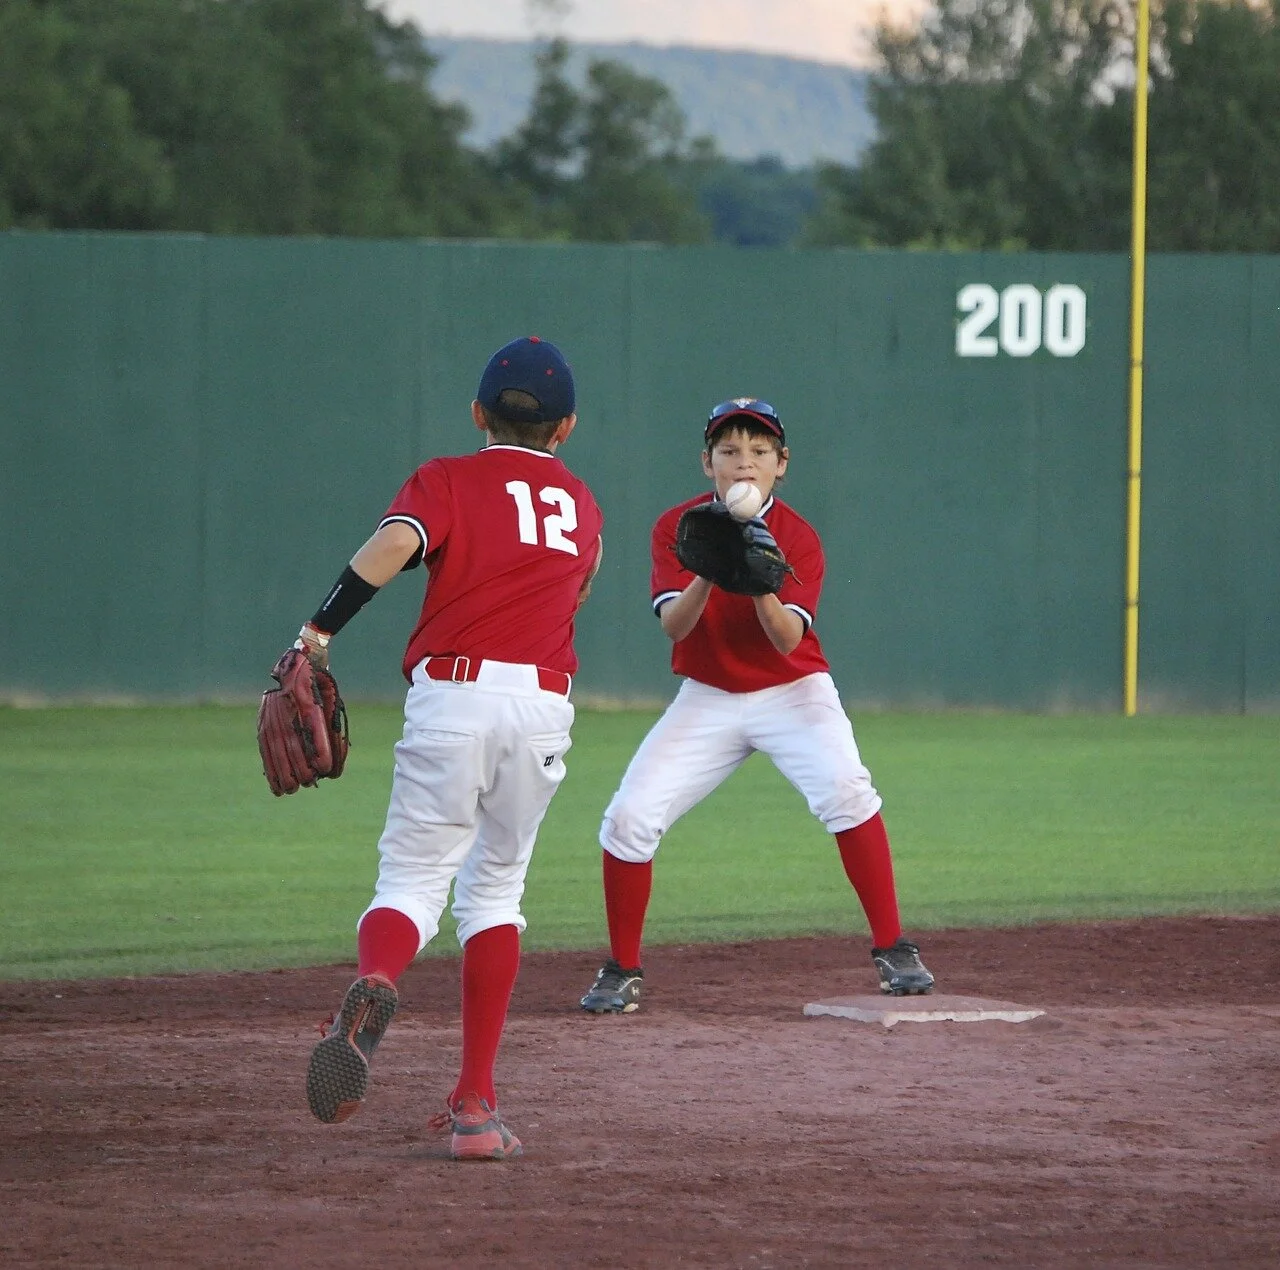
With the shoulder joint and elbow joint warm up exercises completed its now time to start throwing. Begin with short toss where you and your partner are positioned about half as close where you will be when normally playing catch. Throw 10 to 12 throws to each other. Then progressively move further apart to the normal distance of playing catch and then to a much longer distance where the arm is being challenged at an intensity approaching that of which will be used during the game.
Play Ball!!!!!!!!!!!!!!
About the Author
Lynn Perkes is a full-time faculty member at Brigham Young University-Idaho teaching courses in Kinesiology and Biomechanics, Applied Kinesiology and Assessment, Therapeutic Exercise, and other Physical Therapist Assistant classes. He writes part-time for ProhealthcareProducts.com, who sells healthcare, therapy, fitness, medical and diagnostic equipment, and personal protective equipment.